
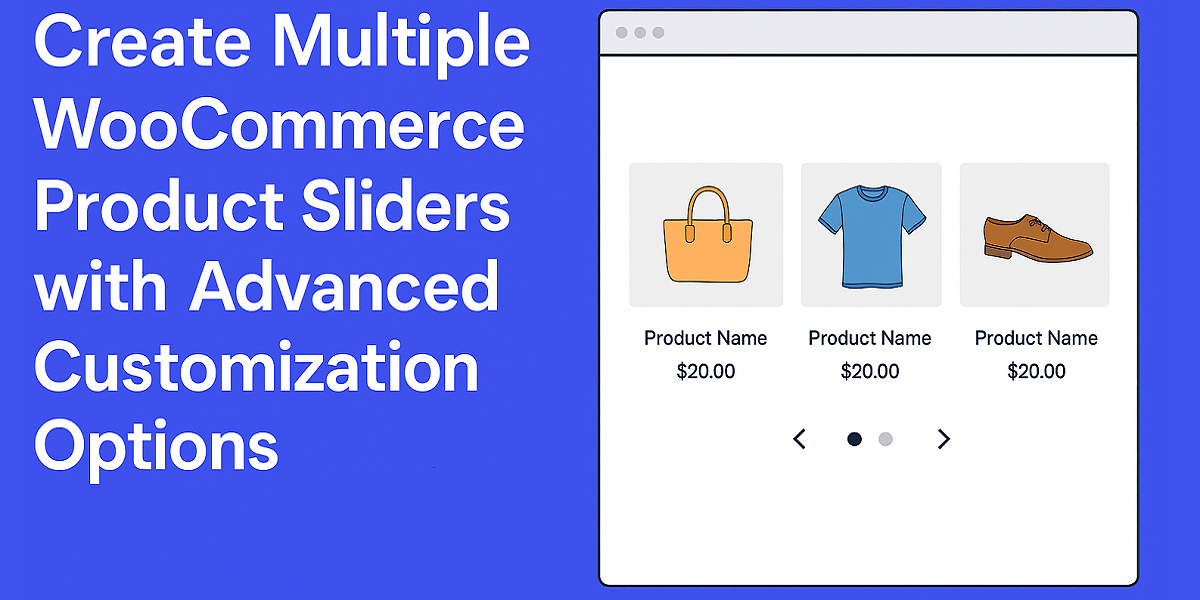
Create Multiple WooCommerce Product Sliders with Advanced Customization Options
- By Isolde Voss
- 18-07-2025
- E-commerce
Creating product layouts in WooCommerce that make sense to your customers is critical. When your items are grouped the right way and shown in a clear format, users find it easier to navigate and choose what they want.
A static product list might work for a few items. But for stores with more inventory, it can get messy and slow. This is where the idea of using multiple product sliders starts to make sense. You can arrange your items based on categories, popularity, pricing, or any label that fits your store’s layout strategy.
Using a WooCommerce product slider helps store owners manage product display without making the page feel cluttered. Instead of stacking products in a long list, you can add sliders on different pages or sections.
Each slider serves its own purpose. You can place one for best-sellers on the homepage. Another for newly added items on the product archive. One more for discounted products in the side widget. Each slider keeps the layout clean and avoids unnecessary scrolling.
The real value shows when you need to control how these sliders behave. With advanced customization, you’re not just dragging and dropping a slider. You’re defining which products show up, how many items scroll, which arrows or icons to use, and where it should sit on the page.
These options can change the way visitors experience your store. They might come looking for one thing but end up checking multiple products just because they were placed in a better layout.
The Product Slider and Carousel for WooCommerce by Extendons is a plugin made for this type of setup. It lets you build multiple sliders across your store. You control the product range, set the order, choose display styles, and apply shortcodes to place them. No coding is needed. Everything works through settings and customization panels.
In short, if your WooCommerce store holds a variety of products, using multiple product sliders with advanced options is not just helpful. It’s a structured way to manage content and layout without slowing down the user experience.
How to Create a WooCommerce Product Slider
The basic setup and installation process is fairly easy for most, if not, all WooCommerce plugins. Still, below is an in-depth step-by-step guide that you can follow to ensure you have properly installed the plugin.
Step 1: Add Products to Your WooCommerce Store
First you need to have products in your store. Without product listings, the slider has nothing to show. Go into the WooCommerce dashboard and begin adding items if your store is still empty.
Input titles, upload images, enter short descriptions, set prices, and update stock details. These entries form the base for what the slider pulls and displays later.
Images are important. The plugin uses these to generate product visuals inside the slider. If you plan to organize sliders by categories like sales or new arrivals, assign product categories while uploading items.
This saves time later and makes it easier to group products in separate sliders. If the products are already added and ready, then skip to the layout setup. But if not, complete this part first. The slider depends on these entries to build the layout.
Start by adding your products to the WooCommerce catalog. Go to your WordPress admin panel, then open the Products section under WooCommerce. Click Add New to begin.
Fill out the required fields:
- Enter the product name
- Upload a main image and gallery images
- Write a short description
- Set regular and sale prices
- Update stock status and inventory
- Choose categories or tags if needed
Make sure each product has a clear image and basic details. The product slider reads this content directly. If there's no image or data
Step 2: Install the WooCommerce Product Slider Plugin
After setting up your products, the next step is adding the WooCommerce product slider plugin. This plugin builds the slider layout and shows products anywhere across your site.
First, download the plugin ZIP file. It should be available through your purchase source or WooCommerce account. Once downloaded, open your WordPress admin panel. Go to Plugins > Add New > Upload Plugin. Upload the ZIP file, then click Install Now. After the install finishes, click Activate.
The plugin is now active. A new option called Product Slider appears under the WooCommerce menu. That’s where you will create and manage your sliders.
No code required. Each slider will generate a shortcode. You can place this shortcode inside posts, pages, or widget areas to display the product slider.
Checklist Recap:
- Get plugin ZIP file
- Upload using WordPress admin
- Activation
- Find Product Slider under WooCommerce menu
Step 3: Set Up the First WooCommerce Product Carousel Slider
Once the plugin is installed and active, go to the WordPress dashboard. Open WooCommerce > Product Slider. This is where all sliders will be built and edited.
Click Add New Slider to begin. The first field asks for a title. Use something that matches its purpose, like Homepage Offers or New Stock Carousel. This will help identify the slider later while managing multiple layouts.
Step 4: Configure Slider and Query Settings for Control and Display
Once the product slider is created, go into the configuration area to change how it behaves and what it shows. This part controls both the function and product display logic. Start with the Slider Settings. These define movement and interaction.
- Autoplay lets the slider move without clicks. Leave it off if manual sliding is preferred.
- Slide Speed controls how fast each product transitions. Use milliseconds like 3000 or 5000.
- Autoplay Interval decides how long each slide stays before moving. This applies when autoplay is turned on.
- Loop or Rewind lets the slider either repeat endlessly or reverse direction at the last item.
- Mouse Drag / Touch Drag allows users to slide using a mouse or their finger, useful for mobile.
- Pause on Hover stops the autoplay when someone points their cursor on the slider. Helps buyers focus without rushing.
After adjusting the behavior, scroll to Query Settings. This decides what products are shown in the carousel.
- Number of Products controls total items visible. Set a number or use -1 to load everything.
- Query Order lets you choose ascending or descending listing.
- Order By sorts products using fields like ID, name, sales volume, or price.
- Slider Content selects whether you want to show products or categories.
- Select Category allows filtering based on product groups you already created.
- Hide Out-of-Stock Products removes unavailable items from view.
- Display Sale Products includes discounted items if store focus is on deals or limited-time offers.
These two setting groups—slider and query—work together. They decide the layout, speed, and content shown in the product carousel. Skipping this setup can result in poor product visibility or wrong ordering on live pages.
Step 5: Choose Button Colors and Place the Slider on Your Site
After setting the content and behavior, now it’s time to match the slider’s look with your store design. This step controls the color of action buttons.
Go into the Style Settings section inside the same slider setup. You’ll see color options for the Add to Cart button.
- Choose a background color that fits your theme but still stands out. Avoid colors that blend too much with the background.
- Pick a text color that gives high contrast so users can read it clearly on any screen.
Once the style is saved, the final part is placing the slider on the store.
Return to WooCommerce > Product Slider after saving. There will be a shortcode next to every slider you made. Copy the shortcode.
Now go to any WordPress page, post, or widget area. Paste the shortcode where you want the slider to show up. Use a shortcode block in Gutenberg or paste it directly in the text editor.
Once this is done, the WooCommerce product carousel plugin will appear on the site exactly where you added it. This makes it easy to create multiple sliders for different parts of the site without writing code or editing templates.
How Does a Product Slider Benefit Your Store?
Adding a product slider inside a WooCommerce store changes how products are displayed. It’s a method that helps customers view more without clicking around too much. It creates a flow that keeps items moving in front of the buyer. That motion keeps them inside the store longer. And the more they scroll, the more chances they buy.
Below are key benefits of using a product slider inside a WooCommerce store. Each one supports different goals—sales, visibility, and user experience.
1. More Products, Less Space
Product sliders allow many products to be shown in one spot. No need to stretch the page or make customers scroll down endlessly. Everything fits in one row or box. You can display 5, 10, even more items, and they slide left or right.
This works well for stores with lots of inventory. Instead of adding new sections for new arrivals, best sellers, or sales, each can be its own slider. Place it wherever needed. Customers can view all of them in one go, without going back and forth between pages.
2. Easier Navigation Inside Pages
Not every customer enters from the homepage. Some come from search engines directly into a product or category page. A slider placed right there keeps them in the loop. Instead of bouncing out, they get shown related products right away.
For example, if someone lands on a phone case, and the slider shows more accessories right under it, that keeps interest alive. The flow stays active. This layout reduces drop-off and keeps users moving.
3. Focused Promotion
With sliders, stores can build focused sections. Say you want to highlight products on sale. You can create a WooCommerce product carousel only for sale items. Display it on the top of your homepage or below the header.
Same works for seasonal items. If it's holiday season, place winter-specific items in a slider. Change the layout as the season changes. It works as a moving banner, but with real product links and buying options.
4. Faster Product Discovery
Customers don’t always know what they want. They land on your site and browse. A slider gives them a fast scan of your top picks, bestsellers, or trending now. It cuts down decision time. Instead of loading more pages, everything scrolls right in front of them.
That’s why sliders often sit on homepages. They act as a gateway. Visitors see more in one place. If the first few slides interest them, they stay longer. That’s important. It helps guide them to products faster.
5. Better Use of Categories
With category-based sliders, stores can group items properly. If your store sells clothes, you can make one slider for shirts, one for pants, another for jackets. This creates organized sections even without separate pages.
And because the product slider can pull items from specific categories, you don't have to add products manually each time. It updates automatically. This keeps your store content fresh without doing extra work every day.
6. Design Control and Placement Flexibility
WooCommerce product slider plugins give you control over where to place the slider. Home, footer, sidebar, category pages, blog posts — sliders go wherever they’re needed.
This means each part of your site can show different products. You can also create different styles per slider. A large one for featured items. A smaller one for related items. Add multiple on one page if needed. Control how they behave, what they show, and how fast they move.
Final Steps and What Follows
Once your slider is active, your WooCommerce store is ready to show products in a scrollable layout that fits within any part of your site. It organizes product display without needing extra pages or clicks. Buyers can view more, faster. That helps them make quicker decisions and keeps them focused.
Setting up the product slider takes a few steps. Add products, install the plugin, set your layout, adjust the display and query settings, then copy the shortcode and place it where needed. The result is a moving display that shows what you want to highlight — new items, popular picks, sales, or category-specific items.
This plugin removes clutter. It gives structure. You decide how the slider works. You decide what it shows. If used right, it brings better layout and more flow to the store. Try different styles, test what works, and see what helps users stay longer.
For creating multiple sliders with full customization, the WooCommerce product carousel plugin by Extendons is built for the job. You can add it to your store and start building flexible layouts that match your design and product goals.
Author

Isolde Voss
This blog is published by Isolde Voss.
Recent blog
.jpg)
Role of DEX Development in Decentralized Finance
Technology | 24-09-2026.jpg)
How to Evaluate Outsourced Link Building Without SEO Risk
SEO | 23-09-2026.jpg)
Optimize Salesforce Data Before Deploying AI Agents
Salesforce | 22-09-2026